
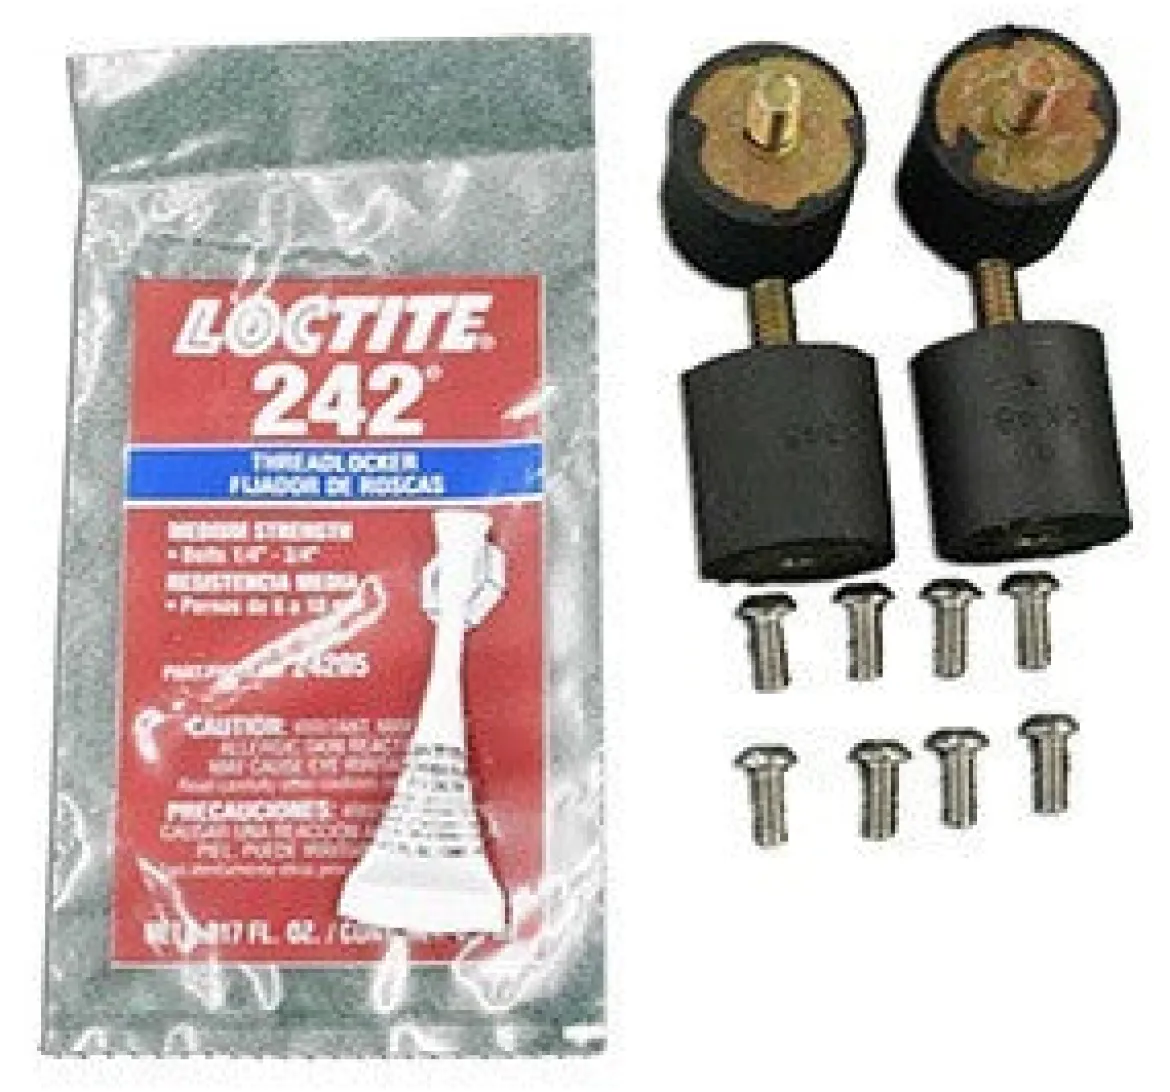
Isolator Replacement Kit (#SS-142001) for Square Scrub 14″ x 20″ Oscillating Floor Machines
$136.99
Product Description
If your Square Scrub 14″ x 20″ oscillating floor machine is vibrating more than usual, you’re deck isolators are probably in need of replacement. We recommend replacing your isolators once per year (unless you’re a heavy user, then we recommend replacing them every 3 months). This will help keep your Square Scrub machine running efficiently for years to come!
If you need some assistance replacing or removing these isolators, please take a look below for step by step instructions on how to replace them.
This helpful kit can be used with any of the 14″ x 20″ Square Scrub machines, like theunit.
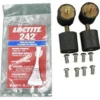
Kit Includes
- 4 isolators
- 8 screws
- 1 tube of blue Loctite
Replacement Instructions
- Make certain the machine is unplugged.
- With your machine upright, use a 5/32” Allen wrench to remove the four bolts holding the “U” shaped handles from the deck of the machine and the weights. (*Please Note: If your machine has removable weights with the star shaped nuts, simply unscrew and remove the weights.)
- Remove the four 7/16” nuts that were exposed once the weights were removed.
- Once removed, gently tilt the machine backwards onto its handle, exposing the underside of the machine.
- Remove the pad from grip face and set aside.
- Square Scrub recommends removing the eight 5/32″ Allen head bolts from around the center perimeter of the base plate. (*Optional:If the center bolt appears to free of debris, and can be easily removed, feel free to remove it.)
- Once all 8 Allen head bolts are removed, the bottom plate can be taken off the machine.
- Remove the old isolators with a 3/16″ Allen wrench. (*Please Note:Always replace all isolators at the same time.)
- Replace all isolators and all isolator bolts. (*Please Note: Never re-use isolator bolts.)
- Replace the bottom plate back onto the base of the machine.
- Rotate the center bolt clockwise until the threaded bolt holes line up to allow the Allen head bolts to be installed.
- Apply a small amount of Blue Loctite to each thread.
- Install each Allen head bolt, but do no tighten down until all 8 bolts are inserted.
- Once all 8 Allen head bolts are inserted, tighten all bolts evenly until firm.
- Place your pad back onto the pad holder and return it to an upright position.
- Replace the four 7/16″ nuts on the top of the isolator bolts and tighten.
- Replace the weight(s) back onto the machine in preparation of replacing the handles.
- Replace the handles, spacers and four 5/32″ Allen head bolts back into the holes and tighten.
(*Please Note:Be careful at this point to carefully line up the isolator bolt with the holes on the base to avoid damaging the bolts.)
Please Note:We also have the 28″ machine replacement isolator kits available, as well as eccentric assemblies. Please call customer service at 1-888-722-5508 for a special quote on these replacement accessories.
Quick Overview
- Isolator Replacement Kit
- Use w/ the 20″ Square Scrub floor machines
Be the first to review “Isolator Replacement Kit (#SS-142001) for Square Scrub 14″ x 20″ Oscillating Floor Machines”
Related products
Floor Pads, Bonnets & Sanding Screens
14″ x 20″ Square Scrub Sand Screens (60 – 150 Grit) – Case of 10
Hard Floor & Carpet Machines
Square Scrub® Doodle Scrub+® Battery Powered Floor Prep Machine (Options available)
Filters
13″ x 13″ HEPA Filter for Xpower Pro Clean Mini 4 Stage Air Scrubber (X-2480A & X-2580 Models)
Auto Scrubber Accessories
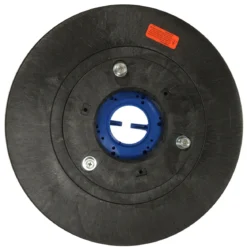
18″ Pad Driver (#9040017) for the Trusted Clean ‘Dura 18HD’ Floor Scrubber
Floor Finish Applicators
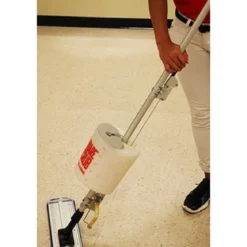
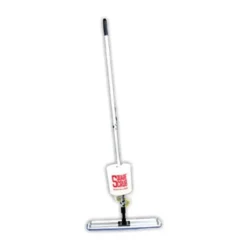
Square Scrub Bucket on a Stick Floor Finish Applicator (18″ or 24″ Head)
Floor Pads, Bonnets & Sanding Screens
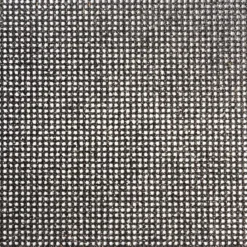
14″ x 28″ Square Scrub Sand Screens (60 – 180 Grit) – Case of 10
Floor Pads, Bonnets & Sanding Screens
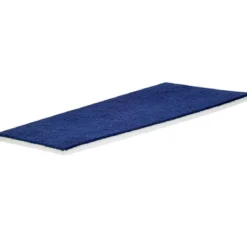
Xtreme Melamine Sponge Pad for Square Scrub® Doodle Scrub® (5.25″ x 10.5″) – Case of 5
Floor Finish Applicators
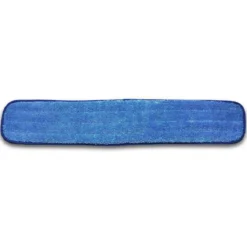
24″ Microfiber Wax Applicator Mop for Square Scrub Bucket on a Stick
Carpet Extractor Hoses, Tools & Accessories
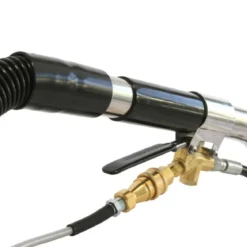
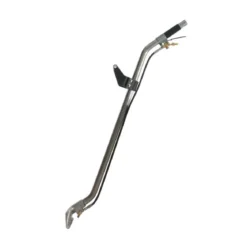
Mytee® 12″ S-Bend Carpet Extractor Drag Wand (0 – 1,200 PSI) – 2 Jets
Floor Pads, Bonnets & Sanding Screens
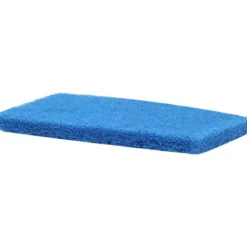
Blue Scrub Pads & Driver for Square Scrub® Doodle Scrub® – Case of 18
Hard Floor & Carpet Machines
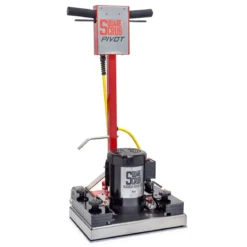
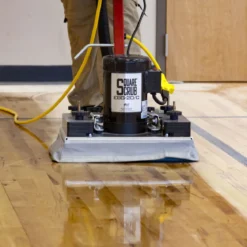
Square Scrub® EBG-20C 14″ x 20″ Pivot Chemical Free Orbital Floor Stripping Machine
Auto Scrubber Parts
Bottles, Triggers & Pump-Up Sprayers
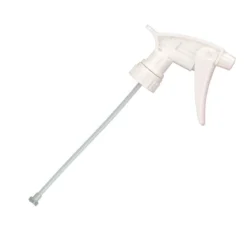
Tolco® Model 320™ White 9.5″ Trigger Sprayer for Quart Bottles (#110516)
Floor Pads, Bonnets & Sanding Screens
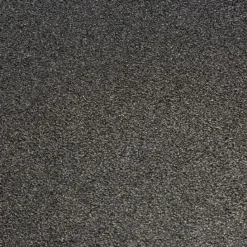
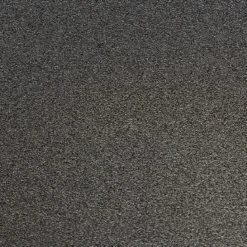
14″ x 20″ Square Scrub Pro Double-Sided Sandpaper Sheets (24 – 100 Grit) – Case of 10
Auto Scrubber Parts
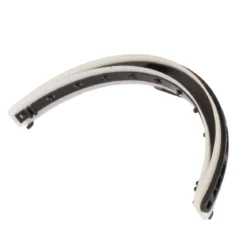
Squeegee Assembly (#9100000085) for the Clarke® Vantage 14 Auto Scrubber
Concrete Preparation
Reviews
There are no reviews yet.